Using multiple projectors
If you want to projection map a physical object from more than one angle, you'll need to use more than one projector. Shape Mapper supports calibrating mappings of a single shape across multiple projectors.
Hardware considerations
If you can connect multiple projectors to your computer directly, great! If not, you'll need a video wall controller like this one.
Write the Processing sketch
Starting from the code in the Getting Started tutorial, we need to make a couple of modifications.
-
In addition to importing the main
ShapeMapperclass, you'll also need to import two other classes,MappedShapeandMapping: -
We'll need to store a reference to a
MappedShapein the top level of our sketch. -
Modify the setup function to add a shape with the
addShape(...)method.myShape = createShape(BOX, 150); mapper = new ShapeMapper(this); mappedShape = mapper.addShape("box", myShape, 2);This alternate way of initializing the library has two important differences:
- The third parameter of
addShape()specifies the number of mappings to create, which corresponds to the number of projectors you have. addShape()returns aMappedShape, which you can store for use in yourdraw()function.
- The third parameter of
-
Now modify the draw function with this code:
for (Mapping mapping : mappedShape.getMappings()) { mapping.beginMapping(); shape(myShape); mapping.endMapping(); }This will loop through the list of mappings and draws a separate perspective for each projector.
-
Putting it all together:
import spacefiller.shapemapper.ShapeMapper; import spacefiller.shapemapper.MappedShape; import spacefiller.shapemapper.Mapping; ShapeMapper mapper; PShape myShape; MappedShape mappedShape; void setup() { fullScreen(P3D); myShape = createShape(BOX, 150); mapper = new ShapeMapper(this); mappedShape = mapper.addShape("box", myShape, 2); } void draw() { background(0); for (Mapping mapping : mappedShape.getMappings()) { mapping.beginMapping(); shape(myShape); mapping.endMapping(); } }
Calibrate the projection mapping
- Run the sketch.
- Hit
Spaceto switch fromRendermode toCalibratemode. - Click a point on your model to select it.
- Hit
Tabto switch to mapping mode. -
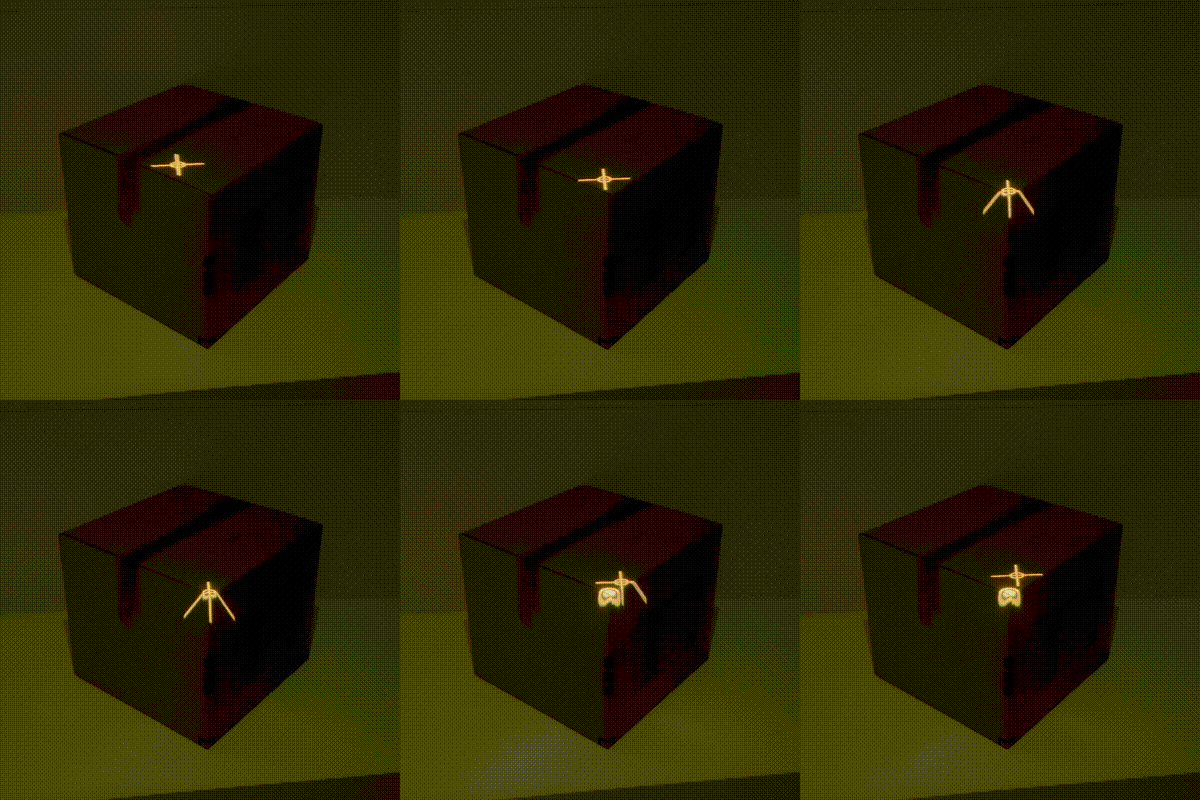
Look at your object in physical space and move your mouse so that the crosshairs are centered on the corresponding vertex of the physical object. Click to create a point in the projected space.

-
Hit
Tabto switch back to point selection. Choose another point and repeat the process. - After mapping 6 points, a full calibration will be automatically estimated.
- Now press
Right →to switch to the next mapping. - Repeat steps 3-7 on your second projector.
Face masking
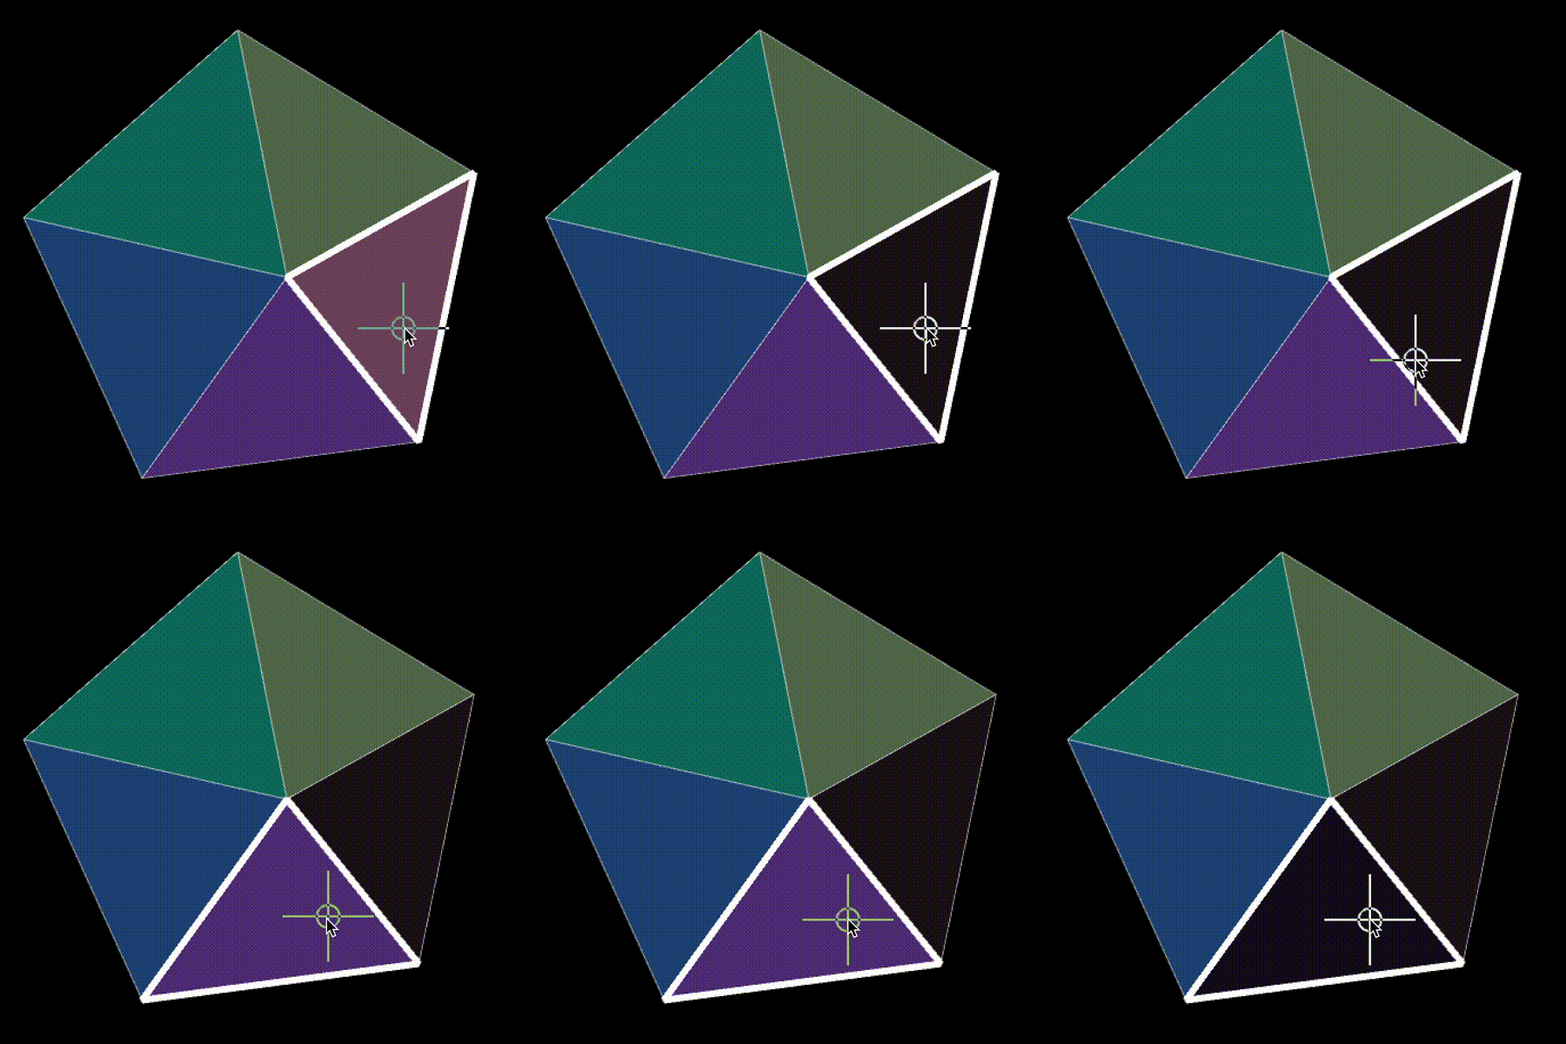
If you have a face of your physical object which both projectors are mapping, you can mask out the face on one of the mappings to avoid drawing it twice.
- Face masking requires that your geometry be structured in a specific way. Your top level
PShapemust be a parent of childPShapes which represent the faces. If you export an.objfile from Blender and import it into Processing, this is the default representation. - Once you have calibrated your mappings, switch to face masking mode.
- Press
Spaceto switch toCalibratemode. - Press
Mto enableMask faces.
- Press
- Press
← LeftorRight →to choose the mapping you want to mask. -
Click a face to toggle it on or off.

-
Now press
Spaceto switch back toRendermode. The faces you have selected should be masked out.